How To - Create, Update, or Remove Groups
 Updated
by
Steve Corbesero
Updated
by
Steve Corbesero
In the Group Editor, an Admin User can easily view and manage all lighting control Groups. As facility needs change, your lighting control structure can dynamically change with it.
The Group Editor allows you to edit group names, create new Groups or Subgroups, move lighting fixtures to new or existing Groups, or remove a Group altogether.
To navigate to the Group Editor:
- Click your user avatar in the top-right
- Click Admin
- Click the Groups button
- Select the appropriate Site or Area
After selecting an Area, you will be able to make changes utilizing the 2-D map.
Edit a Group Name
- Select the target Group
- Select the Pencil Icon next to the Group name
- Enter a new Group name
- Click Rename Group
Create a new Group
- Select the PLUS icon on the far right of the Group Editor Panel
- Enter a Group name
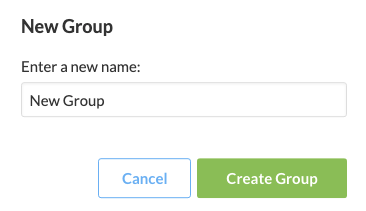
- Click Create Group
Create a Subgroup
To create a new Group within an existing Group, a user should:
- Select the existing Group that you like to create a Subgroup below
- Select the + icon on the far right of the Group Editor Panel
- Enter a Group name
- Click Create Group
Move fixtures from one Group to another
To move a fixture or multiple fixtures from one Group to another Group, a user should:
- Select the Group that you would like to move fixtures to
- Select the fixtures that you would like to move
- Selected Nodes will change from the standard color to Solid Yellow with White Check Mark
- Select the Assign Button, in the lower right-hand corner of the Group Editor Panel
Once a user clicks Assign, the fixtures will move from their current Group to the target Group.
Move a Group into a new Group
To move an entire Group into another Group, a User should:
- Select the Group that you would like to move
- Select the Group Name in the lower breadcrumb menu
- Select the Group using the 2-D Map image
- Select the Suitcase icon in the right-hand corner of the Group Editor Panel

- Select the Group that you would like to move the target Group into from the drop-down menu that appears
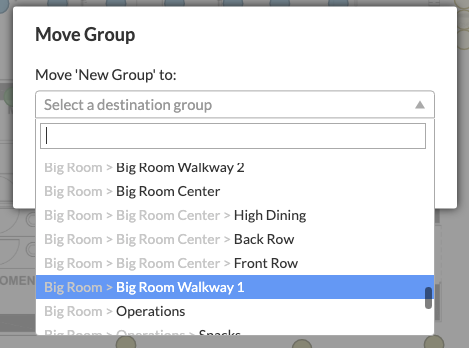
- Click Move Group
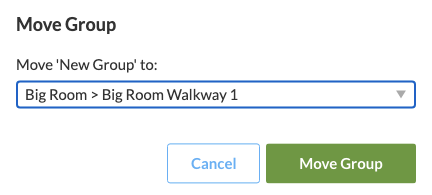
The target Group will now move to its new Parent Group.
Delete a Group
Once all fixtures have been moved from the target Group:
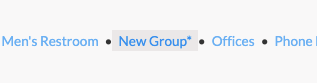
- Select the empty Group, which will be marked with an asterisk
- Select the Trash Can icon in the right-hand corner of the Group Editor Panel
- Click Delete in the pop-up menu that appears