Commission a TRH
Before a Temperature and Relative Humidity sensor (TRH) will work with SiteWorx, it must be added to a Mapfile and commissioned to a gateway. This process is completed by installers or a commissioning agent using the Commissioner software program in combination with a USB adapter. For more information about adding new devices, contact support@siteworx.io.
There are two Methods of commissioning a TRH - either wirelessly (recommended and most common) or using a micro-USB cable.
Wireless Method
Materials Required
- Laptop with Commissioner and Mapfile
- Small Magnet
- TRH
Workflow
- Open the Mapfile in Commissioner
- Navigate to Map > Add SWN-TRH
- Select a Commissioning Method
- Discover wirelessly - define settings and add the keypad to the map, and sync (wirelessly program) now. Requires a connected DLUSB and the keypad must be powered and within range
- Enter a serial number - define settings and add the keypad to the map, and sync (wirelessly program) later
- Discover the TRH
- For wireless discovery:
- Hold the magnet in contact with the front casing of the TRH for 5 seconds
- If the TRH is new, leave as Factory Default Network. If uncertain, click click Scan for Networks at the bottom left, then click Discover for each available network until you find the device
- Click Discover, then select the target device's serial number from the list
- For addition via serial number:
- Select the device's current network (all new devices will be on FDN)
- Enter the device's serial number from the sticker book
- Click Next
- Enter a logical and unique Name for the device; select its Zone, Sensor Group (optional, not shown in SiteWorx), Reporting Frequency, and Description (optional, not shown in SiteWorx)
- Note: The Frequency must be 15 minutes or less to avoid gaps in data reporting. For most applications a Frequency of 3 minutes or 5 minutes is suitable. For applications where the maximum amount of data is desired, select a Frequency of 1 minute. More frequent reporting will lower battery life, however even with the most frequent reporting interval of 1 minute selected battery life of multiple years is typical. The batteries are commercially available and easily replaceable if new batteries are needed
- Decide to sync the device now or later
- Now:
- Insert the USB wireless adapter
- Hold the magnet in contact with the front casing of the TRH for 5 seconds
- Click Program Now
- Later:
- Click Program Later
Wired USB Method
Materials Required
- Laptop with Commissioner and Mapfile
- Micro-USB cable
- Phillips screwdriver
- SWN-TRH
Workflow
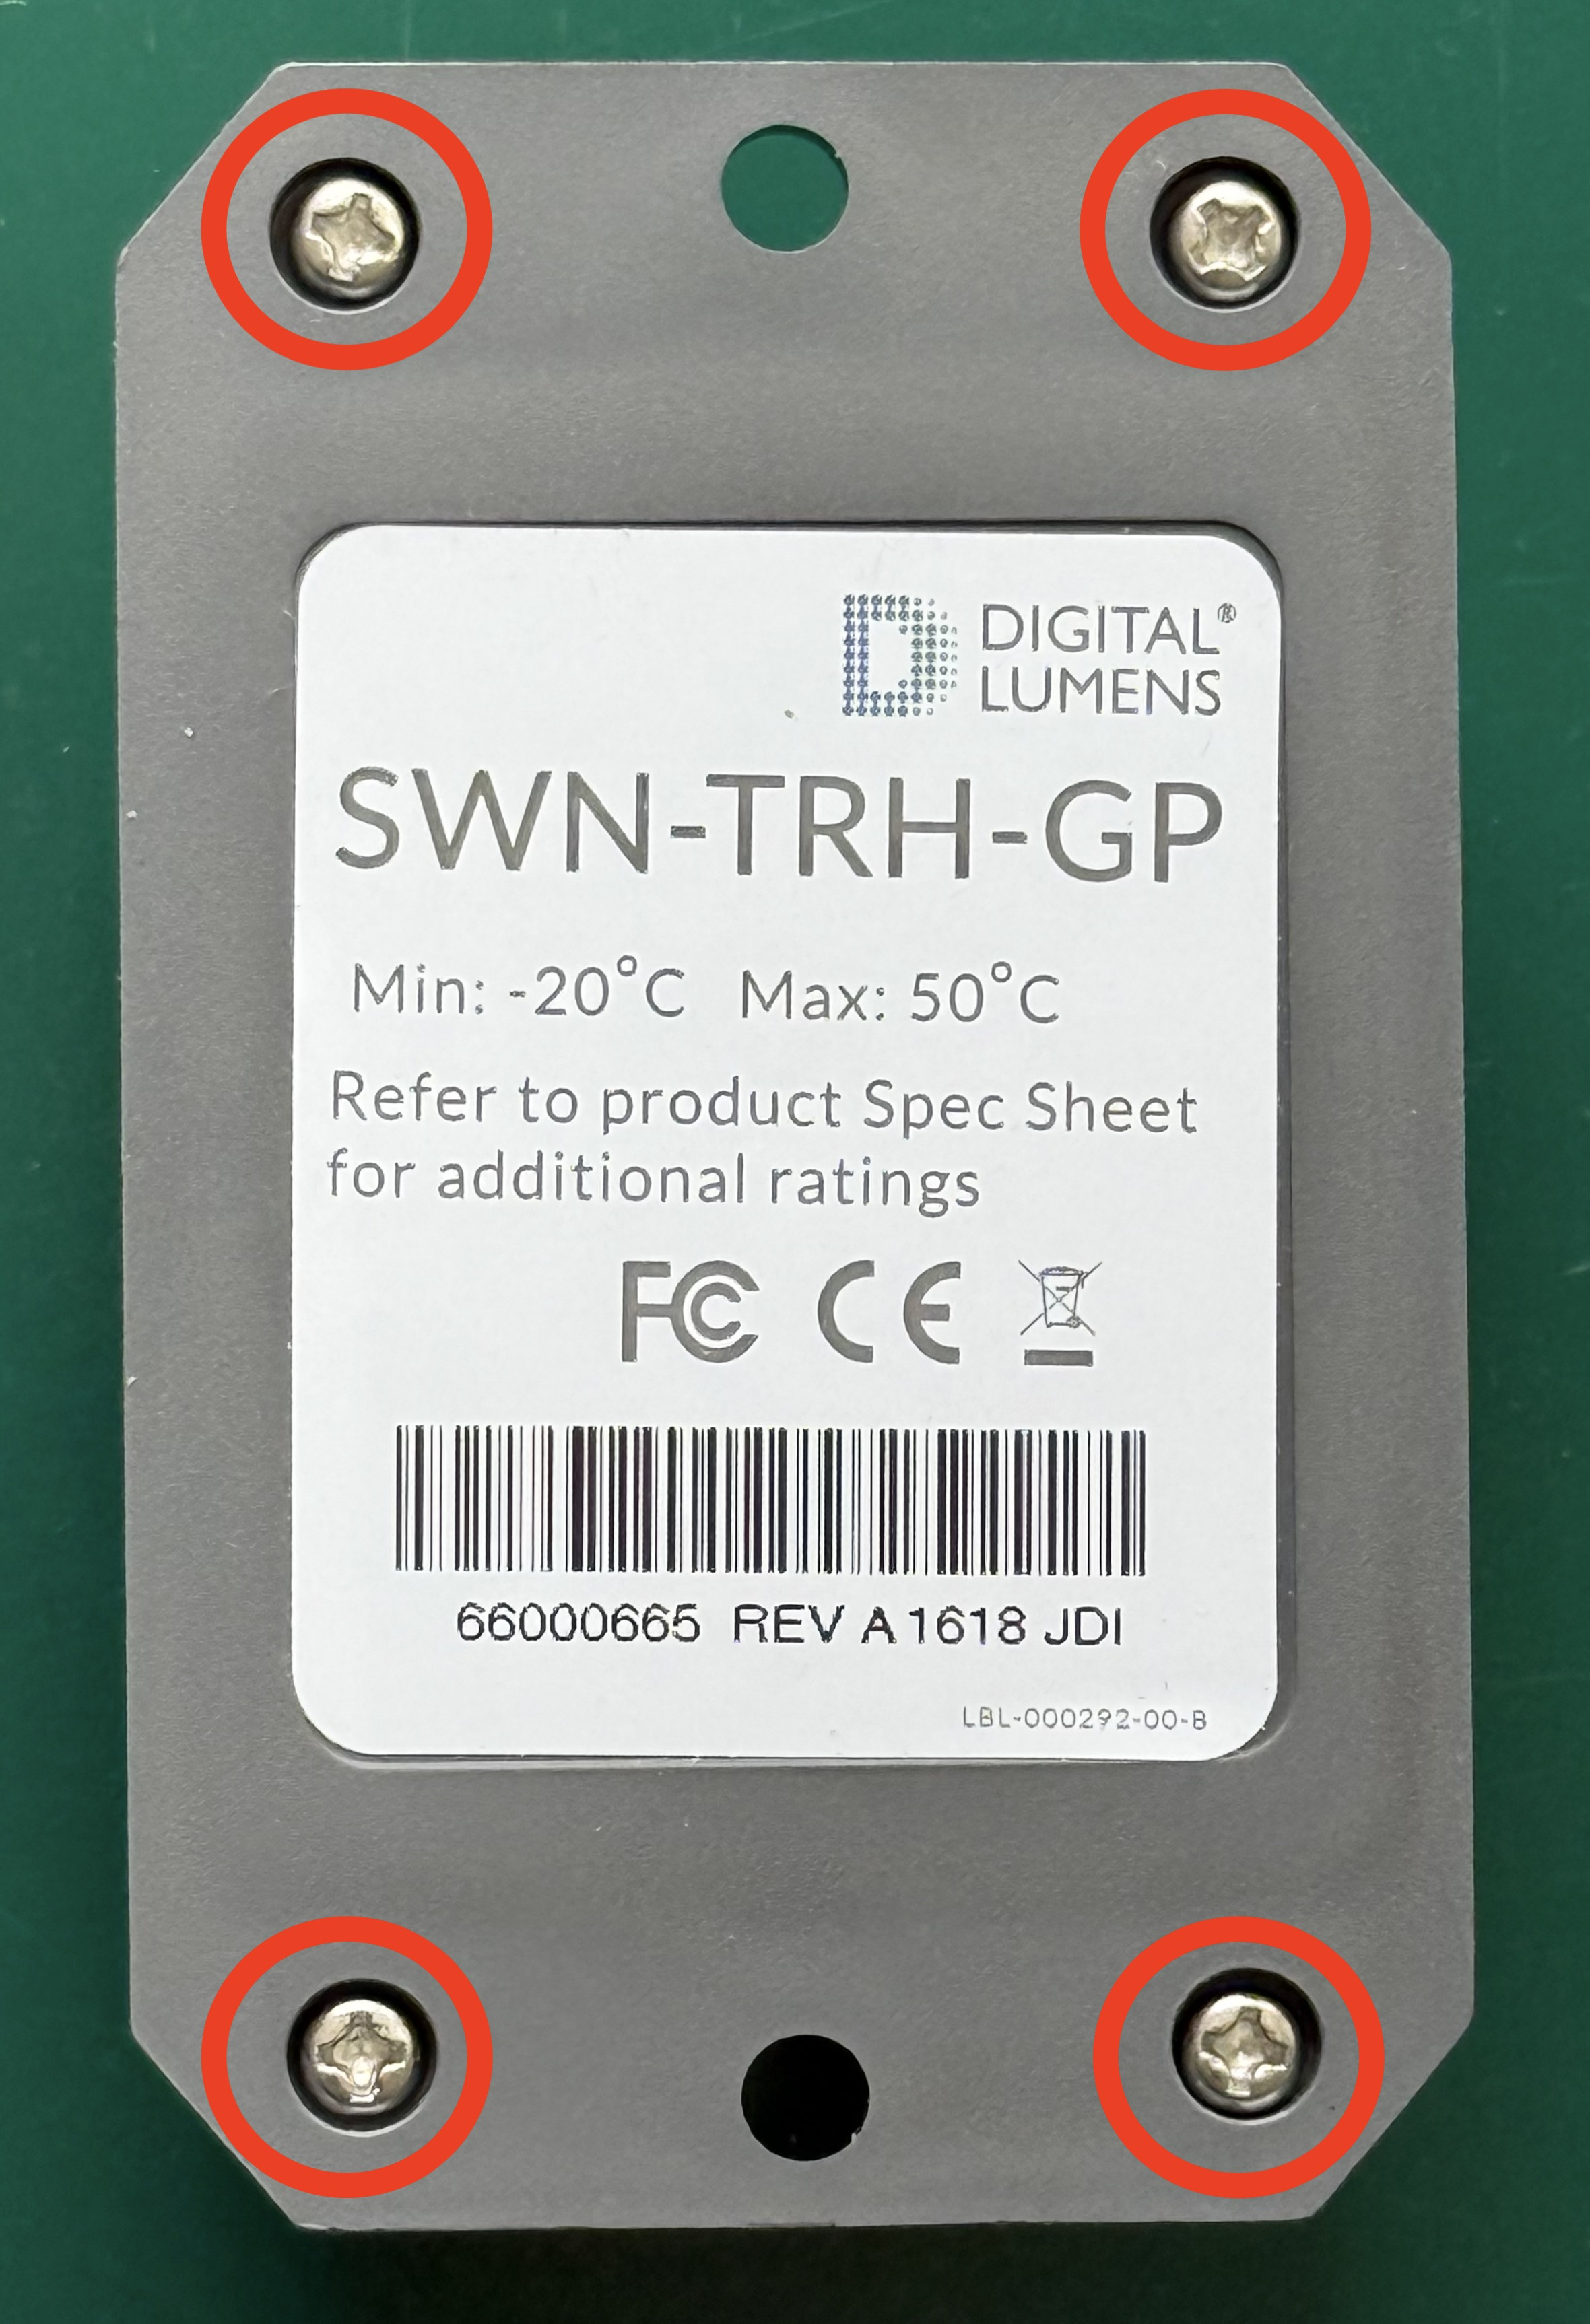
- Remove the four Phillips screws on the back of the SWN-TRH and remove the back plate
- Locate the Micro USB port on the SWN-TRH
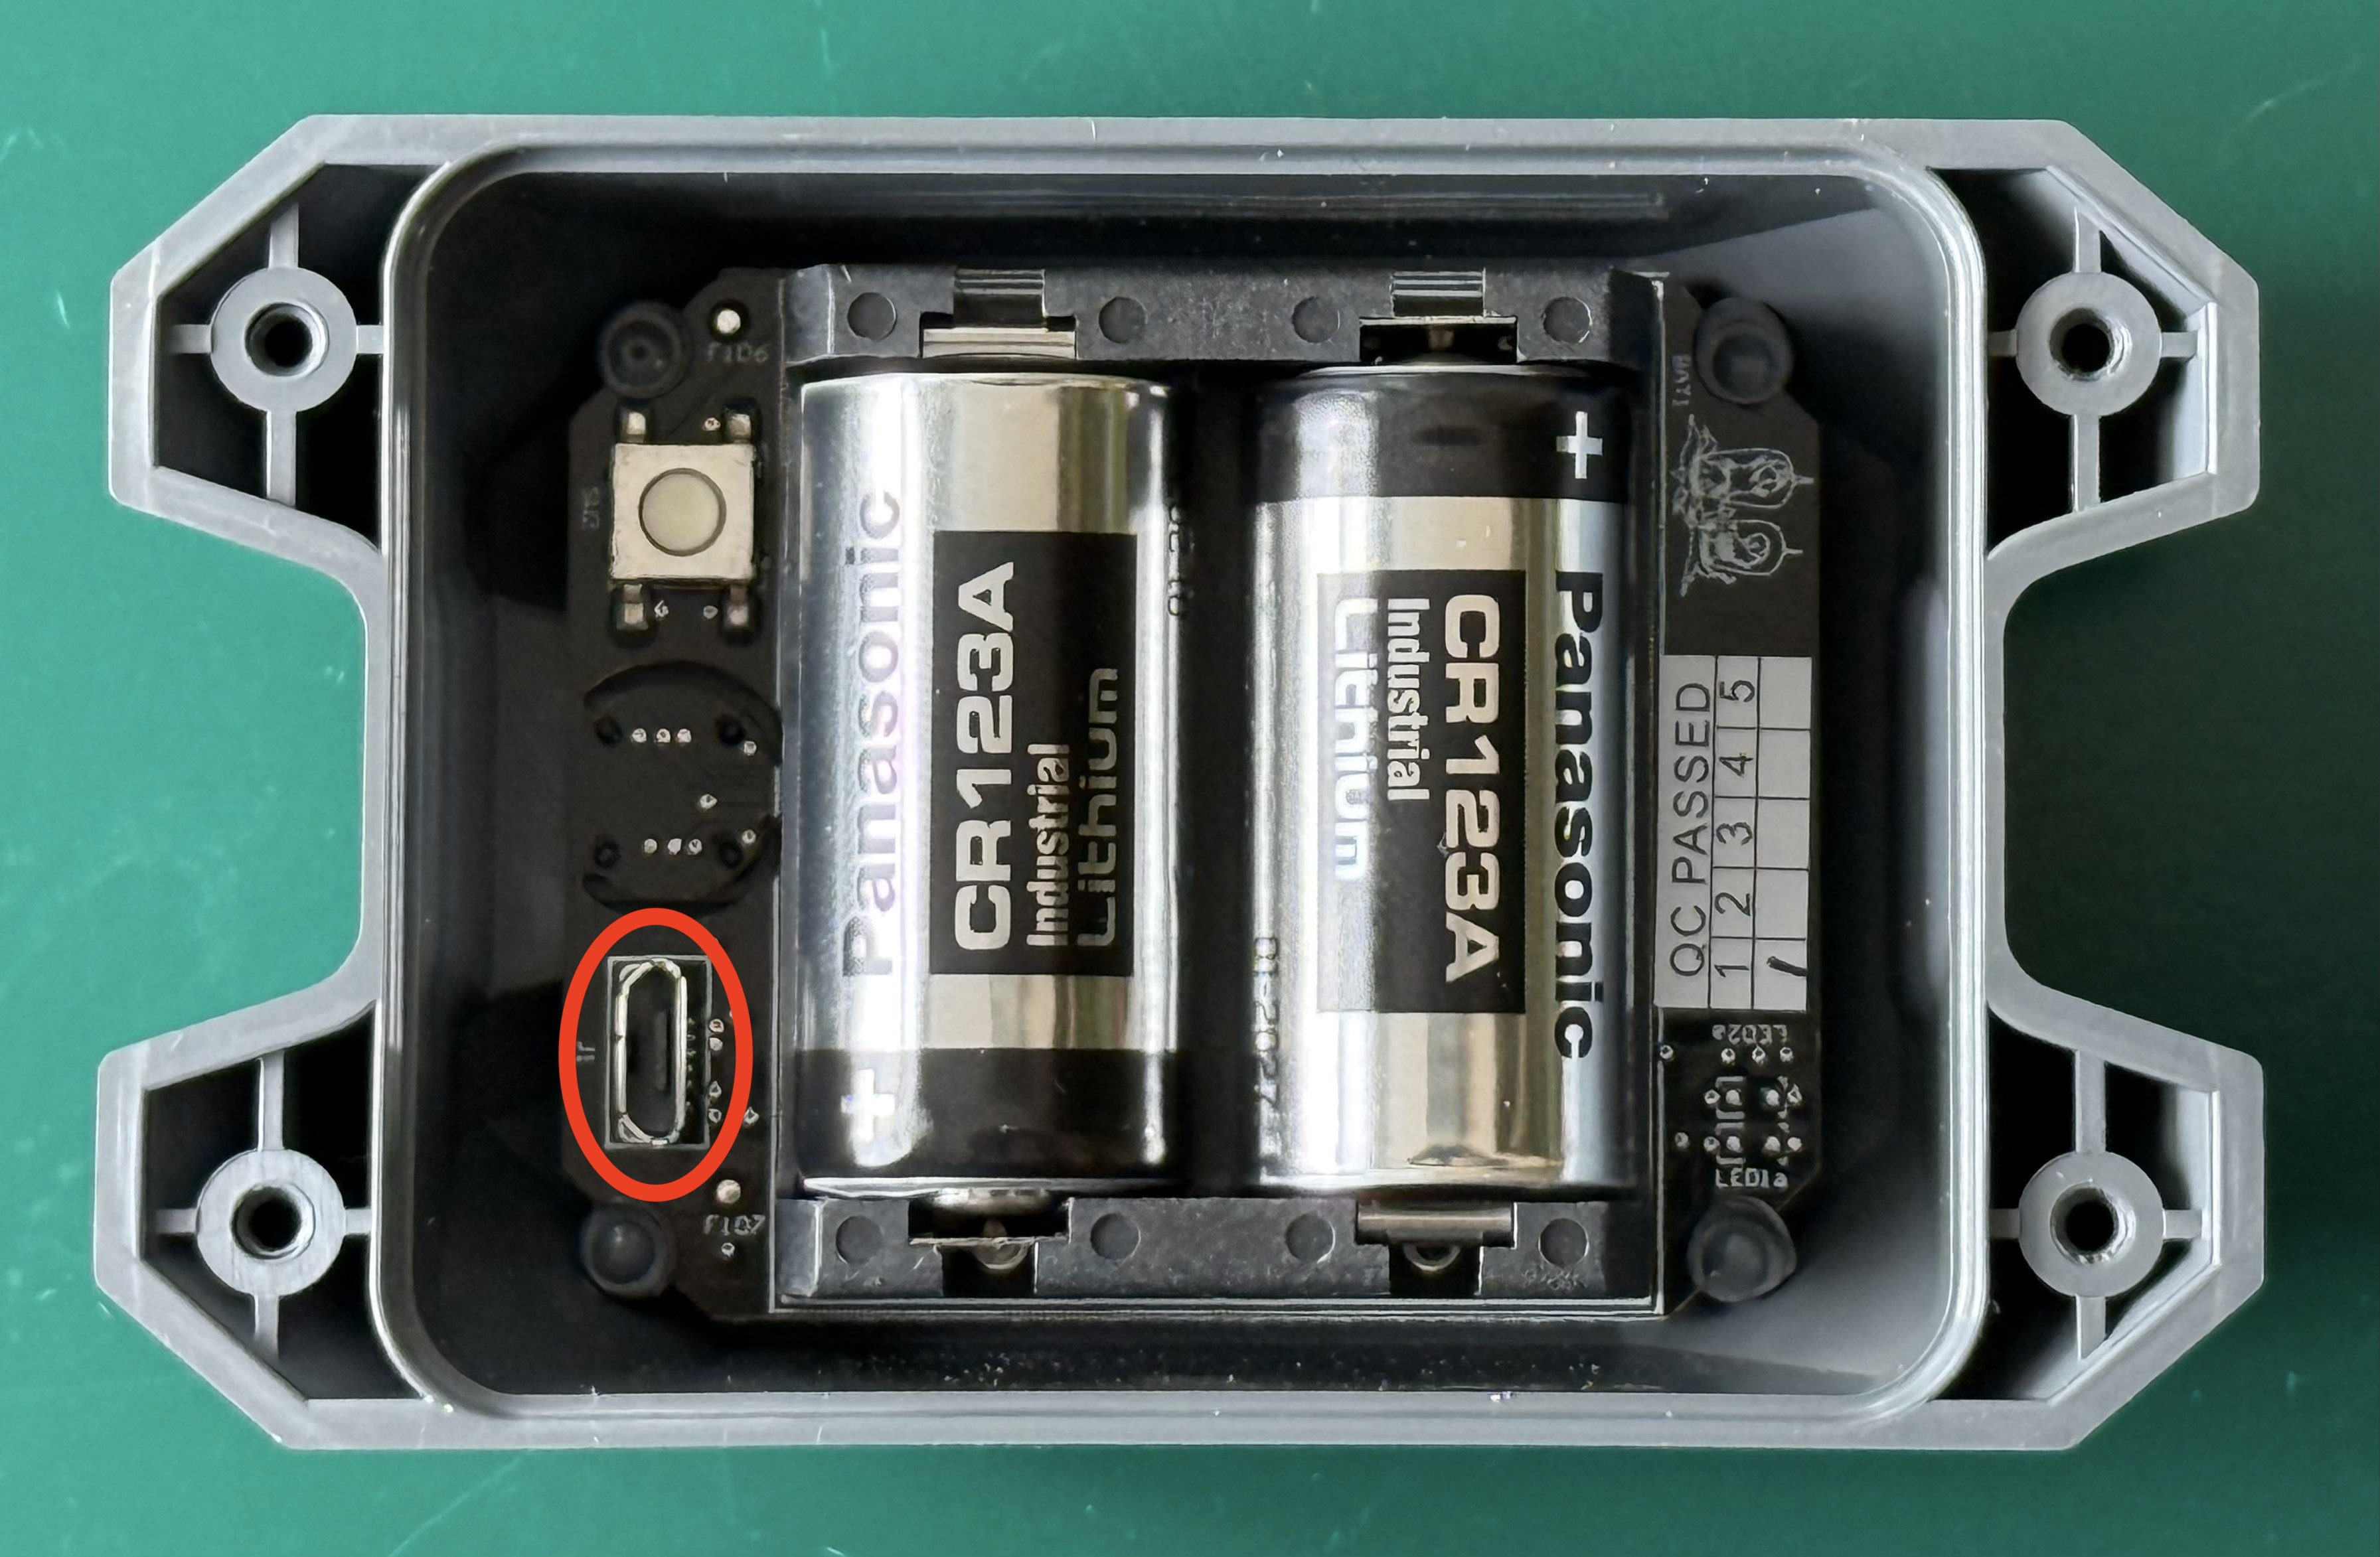
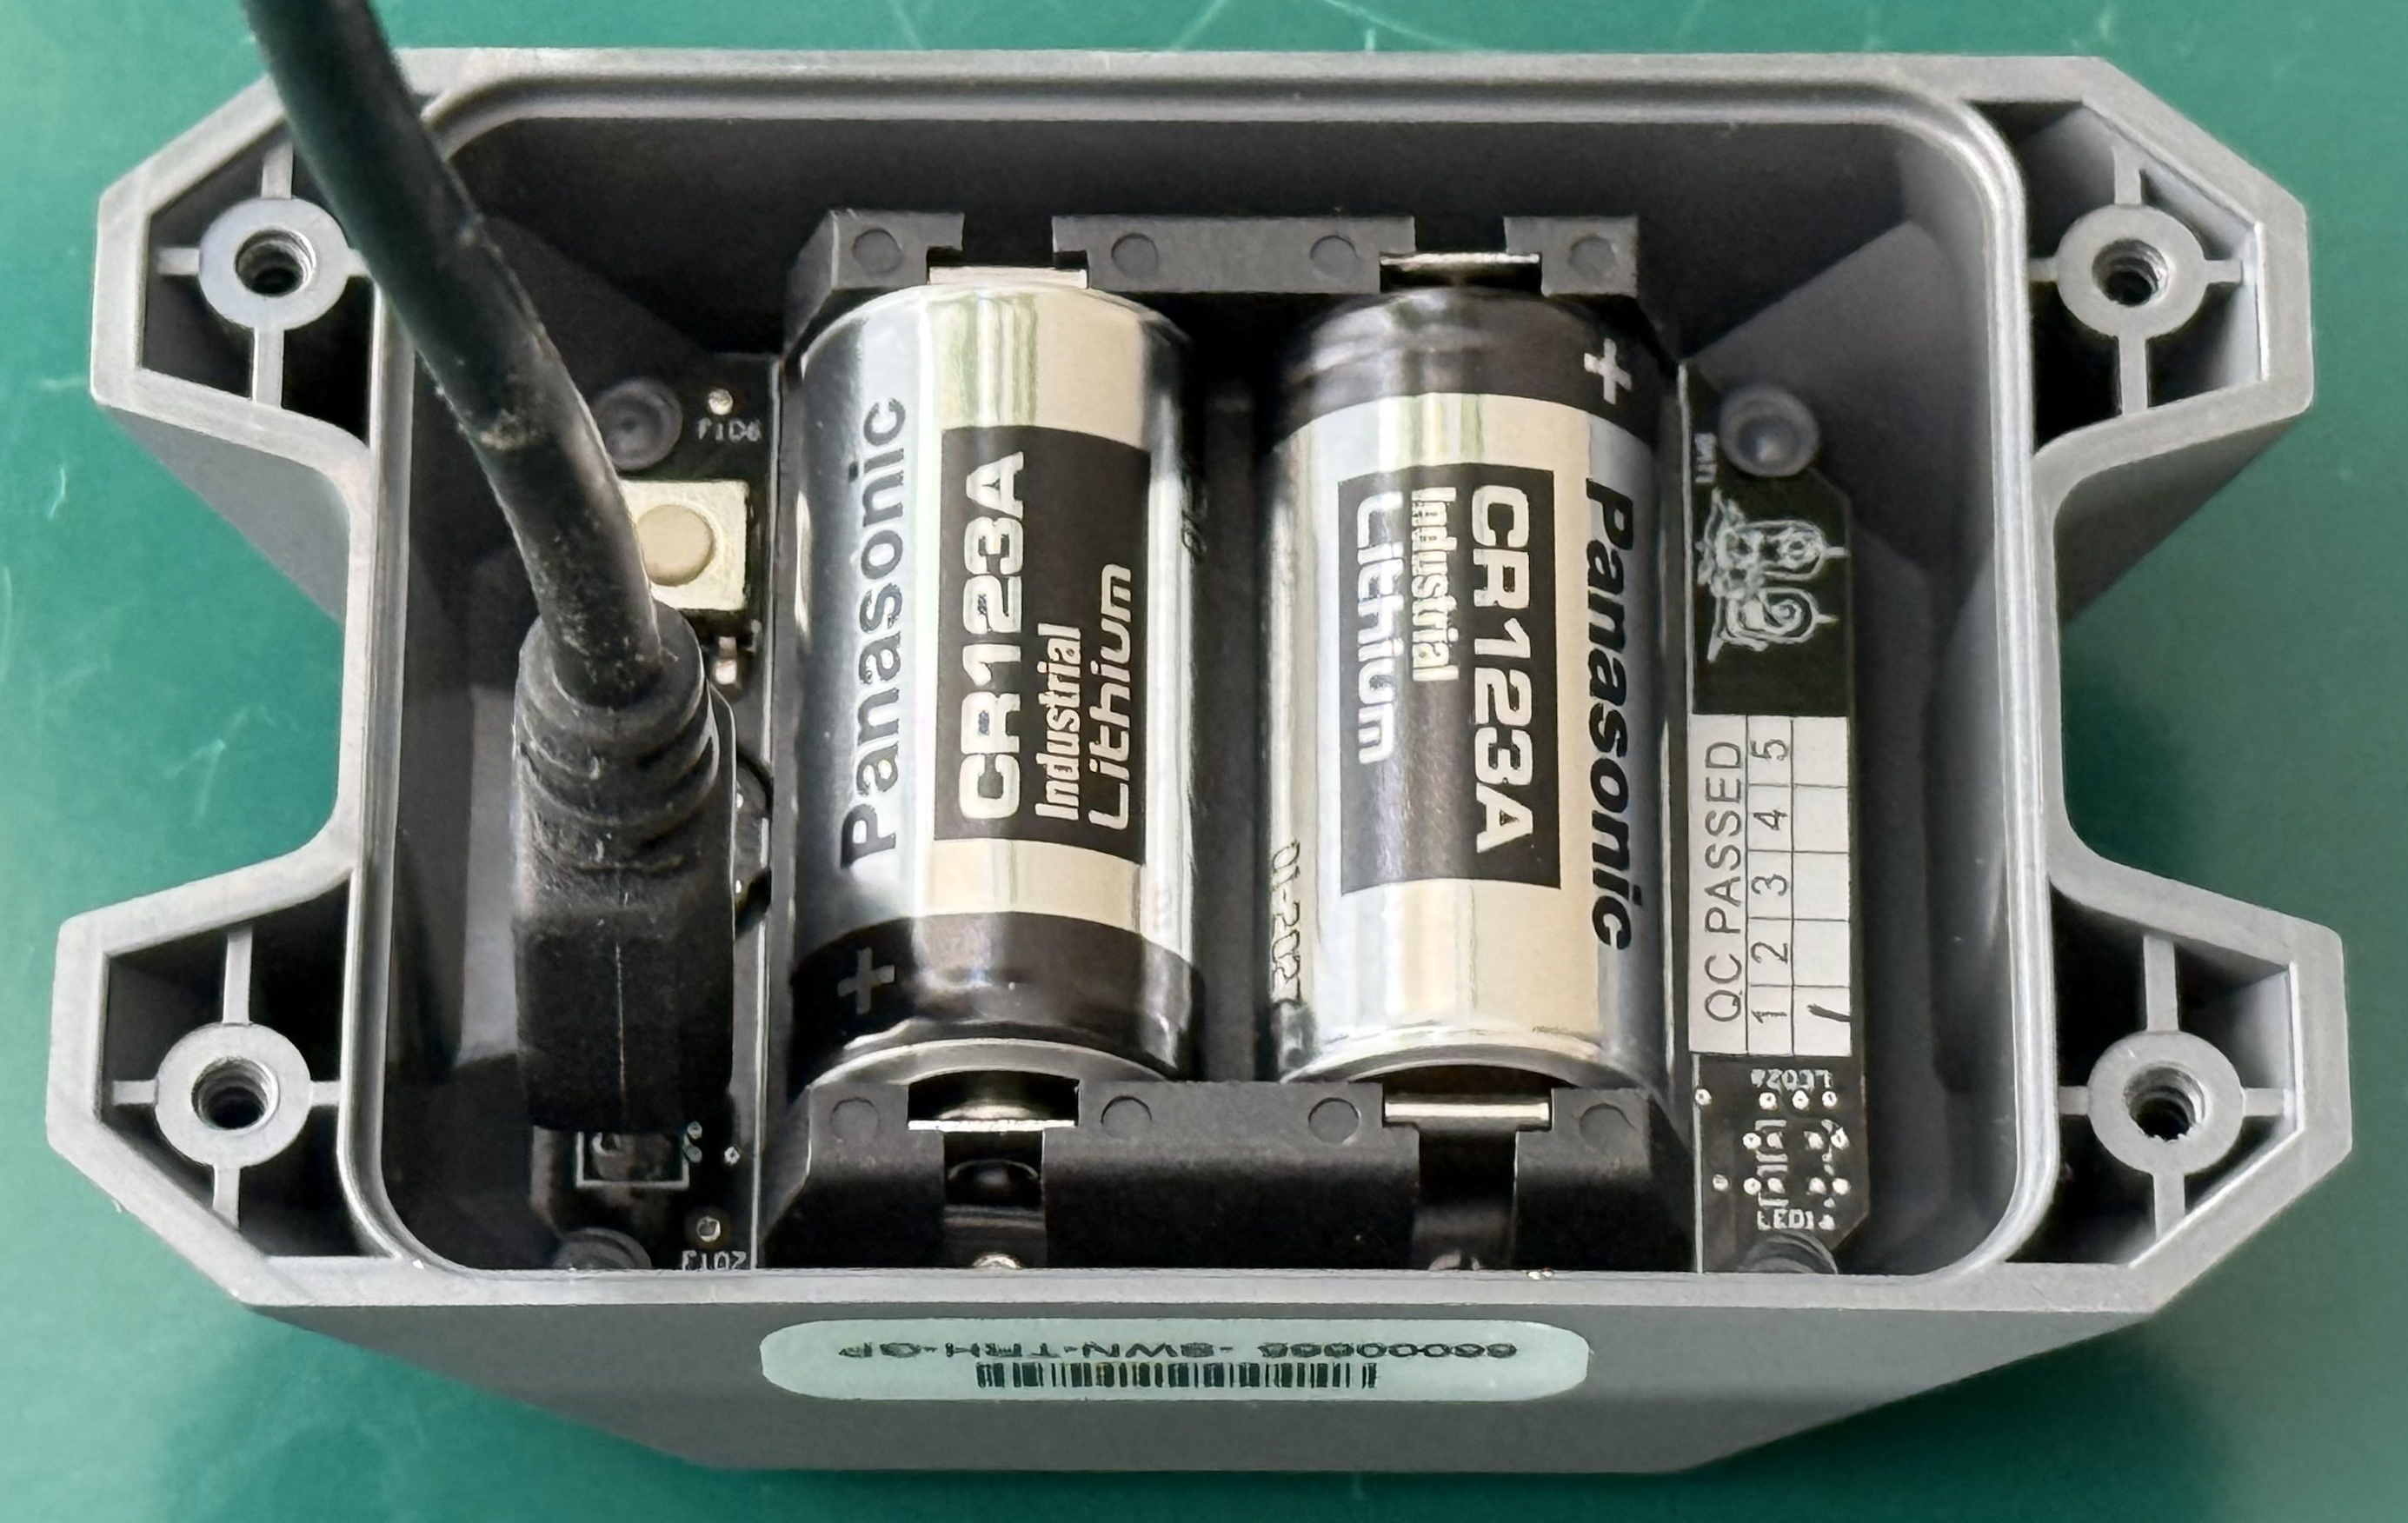
- Connect the SWN-TRH to your computer via Micro USB cable. You should see a green light faintly illuminating near the "QC Passed" label inside the SWN-TRH
- Open the Mapfile in Commissioner
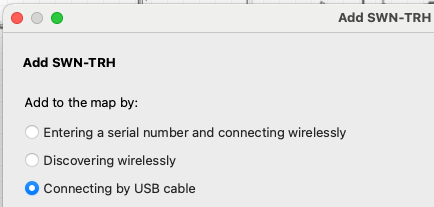
- Navigate to Map > Add SWN-TRH
- Select Connecting by USB cable and then click Next
- Complete the fields denoting the name and configuration of the SWN-TRH and then select Program Now
- Note: The Frequency must be 15 minutes or less to avoid gaps in data reporting. For most applications a Frequency of 3 minutes or 5 minutes is suitable. For applications where the maximum amount of data is desired, select a Frequency of 1 minute. More frequent reporting will lower battery life, however even with the most frequent reporting interval of 1 minute selected battery life of multiple years is typical. The batteries are commercially available and easily replaceable if new batteries are needed
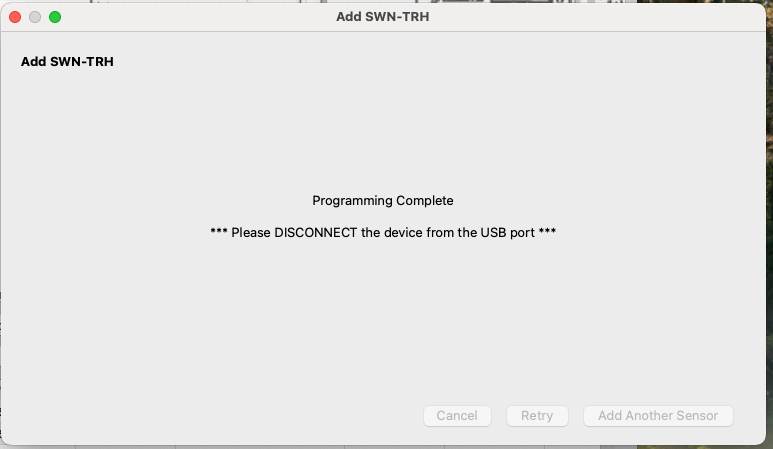
- If you see the Programming Complete message, proceed to disconnect the USB cable from the SWN-TRH. Otherwise, contact Support
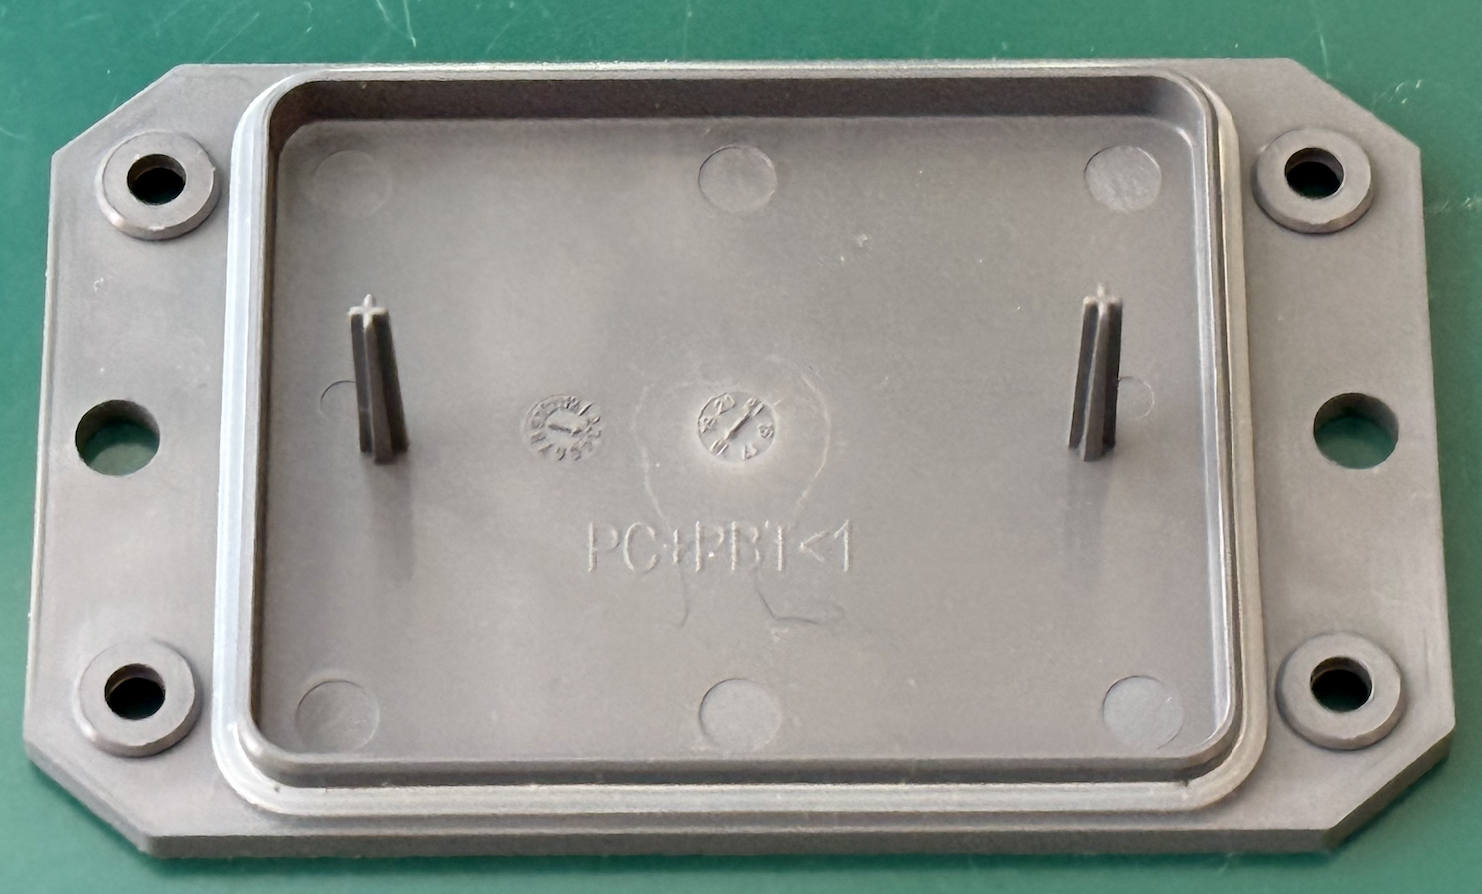
- Reassemble the SWN-TRH by reconnecting the back plate and then installing the four Phillips screws
- IMPORTANT: Ensure the rubber gasket is properly seated before reattaching the back plate. The gasket needs to be seated in the proper position to ensure the IP rating of the SWN-TRH
Related Articles
Lighting Sensor Configuration & Troubleshooting
Overview Since it's possible to connect multiple light fixtures to a single SCN or DLA sensor, Commissioner needs to understand what type of device(s) is (are) being controlled and metered. This step in commissioning is broadly referred to as ...Commission a SCN-CLM
Before a SCN-CLM (CLM) will work with SiteWorx, it must be added to a Mapfile and commissioned to a gateway. This process is completed by installers or a commissioning agent using the Commissioner software program in combination with a USB wireless ...How to wirelessly commission replacement fixtures using Commissioner
Overview This guide details the process for commissioning a replacement fixture following the removal and replacement of a malfunctioning fixture. If you are commissioning a new facility or a large quantity of replacement fixtures, then please visit ...Commission a CRD
Before you Begin Necessary Items Commissioner 3.4.1 or newer Workflow Add CRD to the mapfile Click Map Click Add SWN-CRD Add via Serial Number or Wireless Discovery Click Next Once Add SWN-CRD Dialog appears: Enter Descriptive Name Choose Zone Choose ...Commissioning Digital Lumens Fixtures Using a USB Cable
Overview Commissioning via a USB cable requires physically connecting to each fixture. This method of commissioning is most suitable for users who infrequently use Commissioner and would like to program small numbers of fixtures. The most common ...